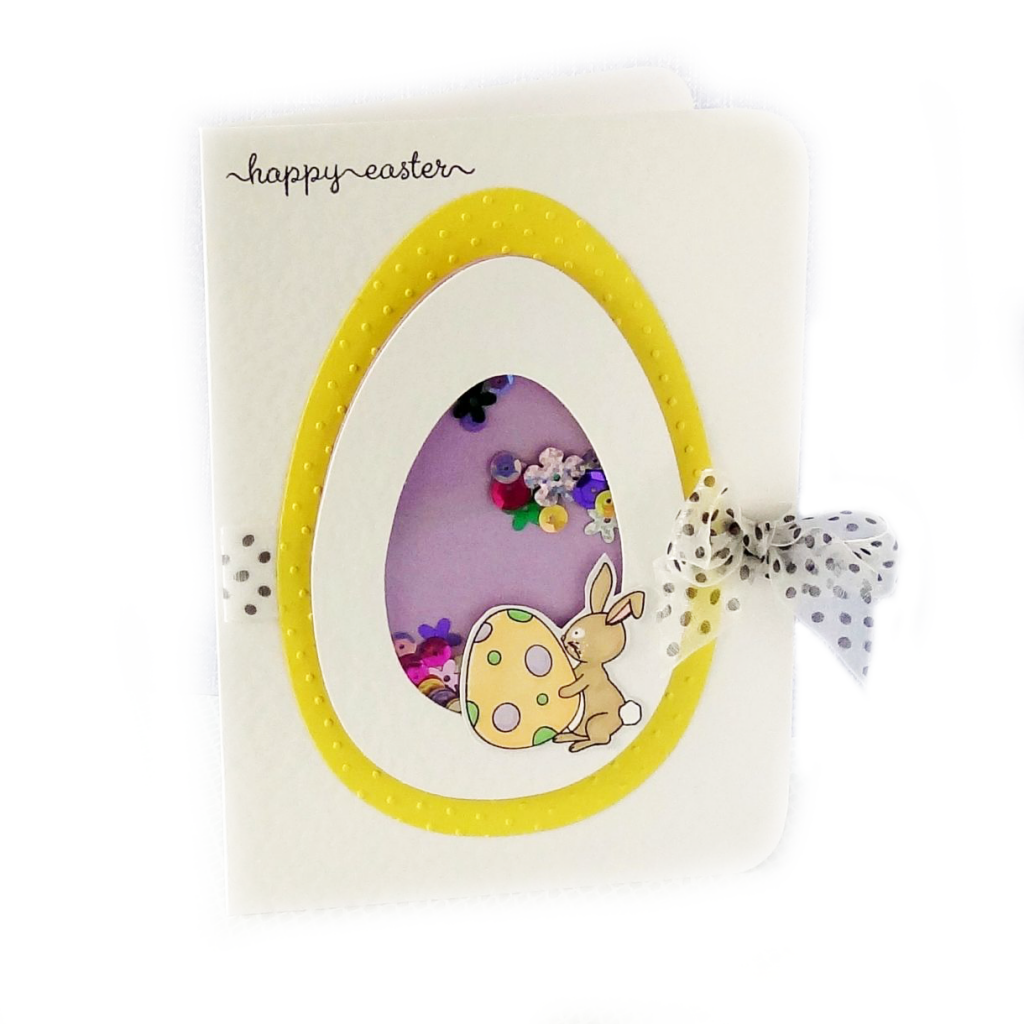
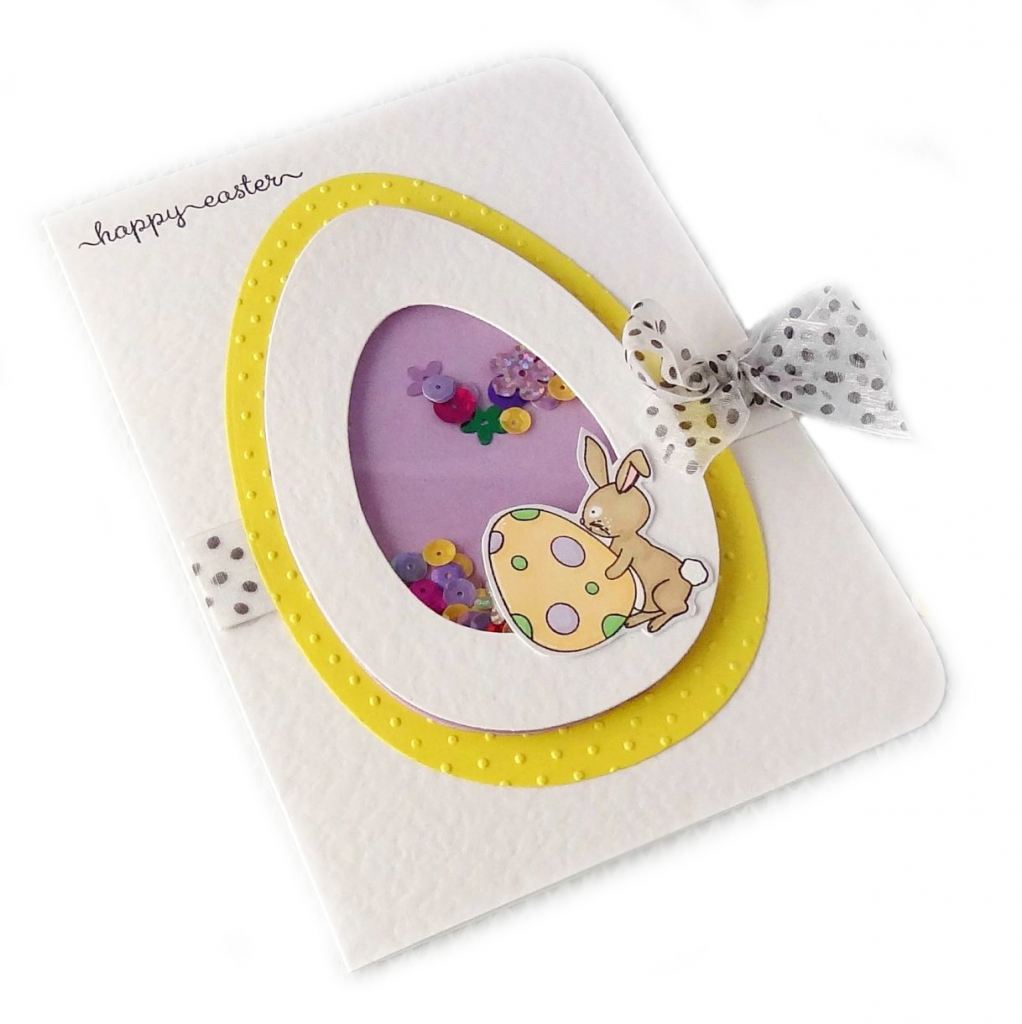
Hello, it’s Angela here with a little step-by-step to making an Easter Shaker Card. I love making cards that are interactive, they are added fun for the recipient (and the maker!) For this card I have combined die-cutting and embossing with stamping, but if you’re not keen on stamping then you could add other embellishments instead.
Step 1
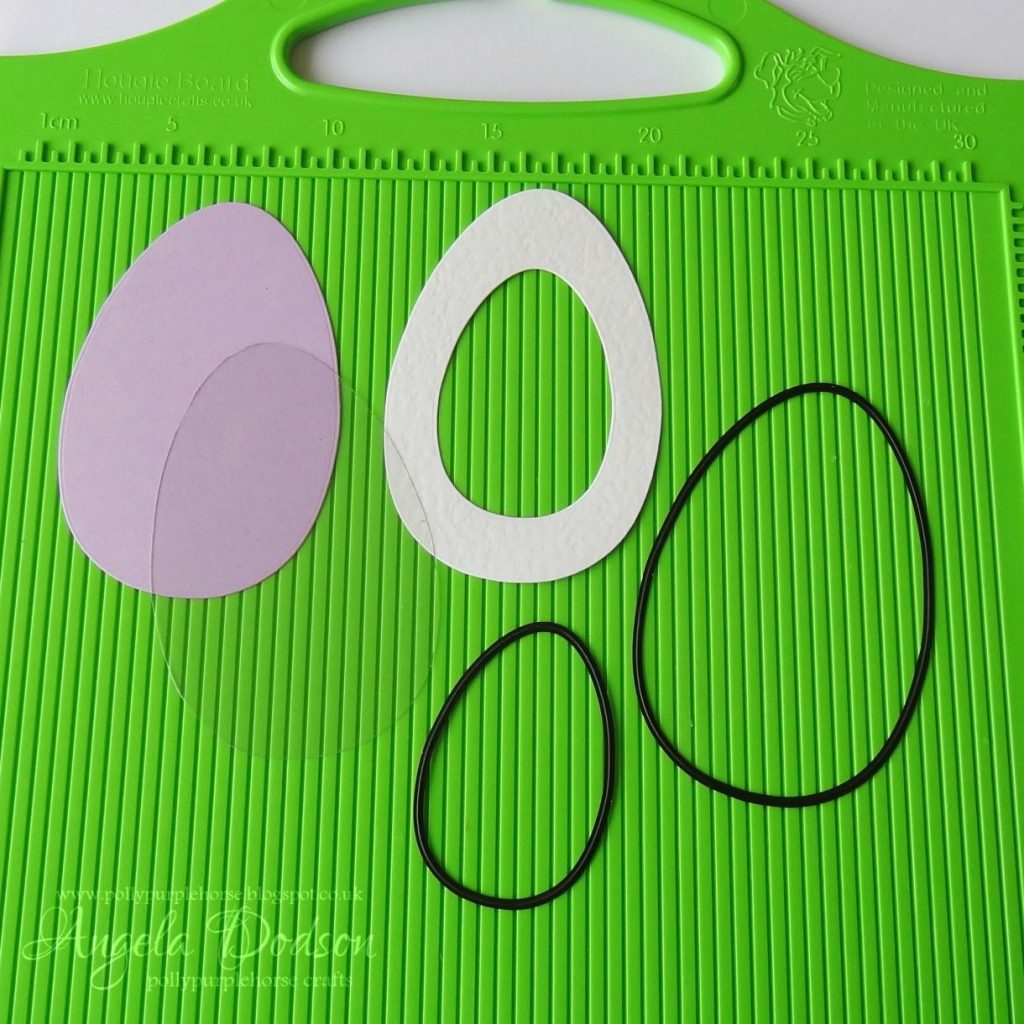
Using the 2nd to largest nesting egg die, die-cut 1 from White Hammered card, 1 from New Lilac Card and one from Clear Acetate. Use the 3rd from smallest egg die to cut out an egg-shaped aperture in the White Hammered card shape.
Step 2
Apply Clear Cosmic Shimmer glue to the back of the White Hammered shape, around the aperture as shown, then attach the clear acetate and press gently to adhere. The wet glue will allow you to adjust the acetate into place.
Step 3
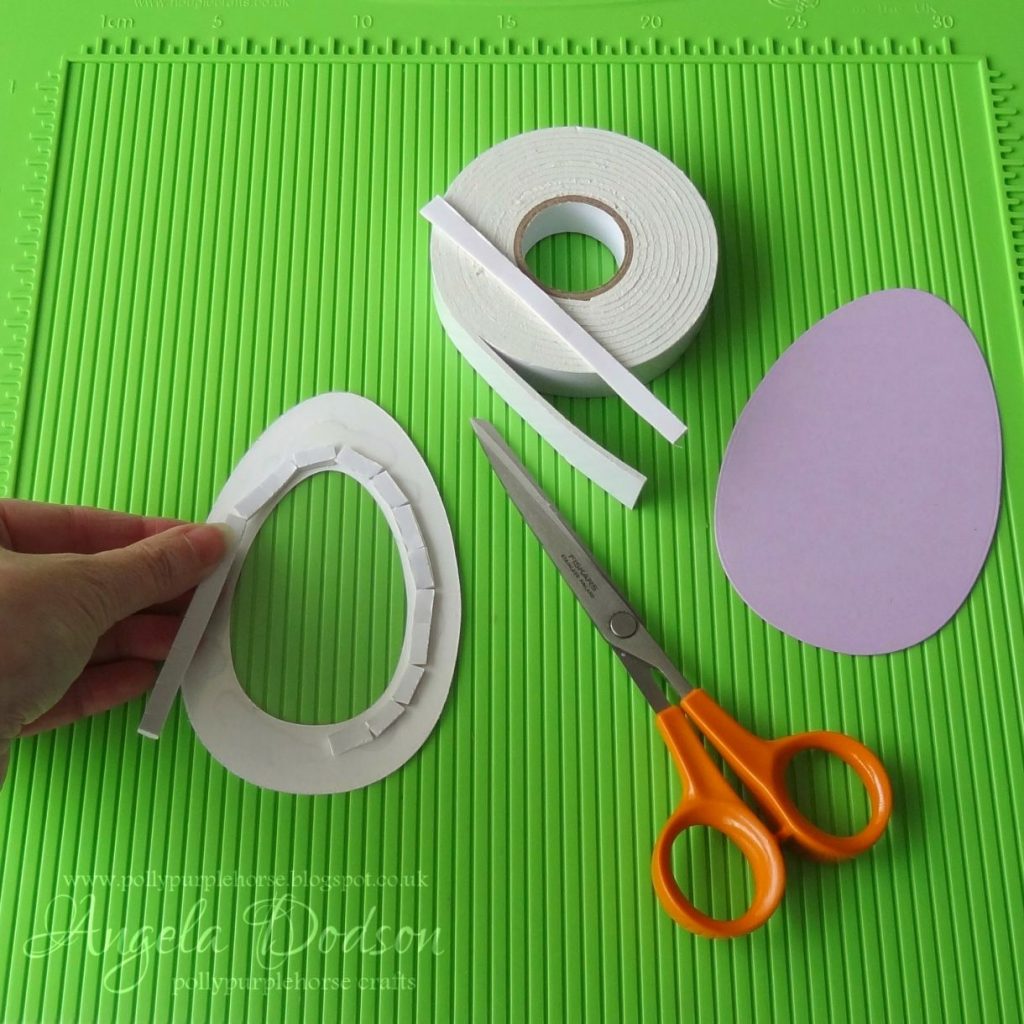
When dry, add lengths of 3D Foam tape around the aperture, cut into it at intervals to allow it to curve around the shape.
Step 4
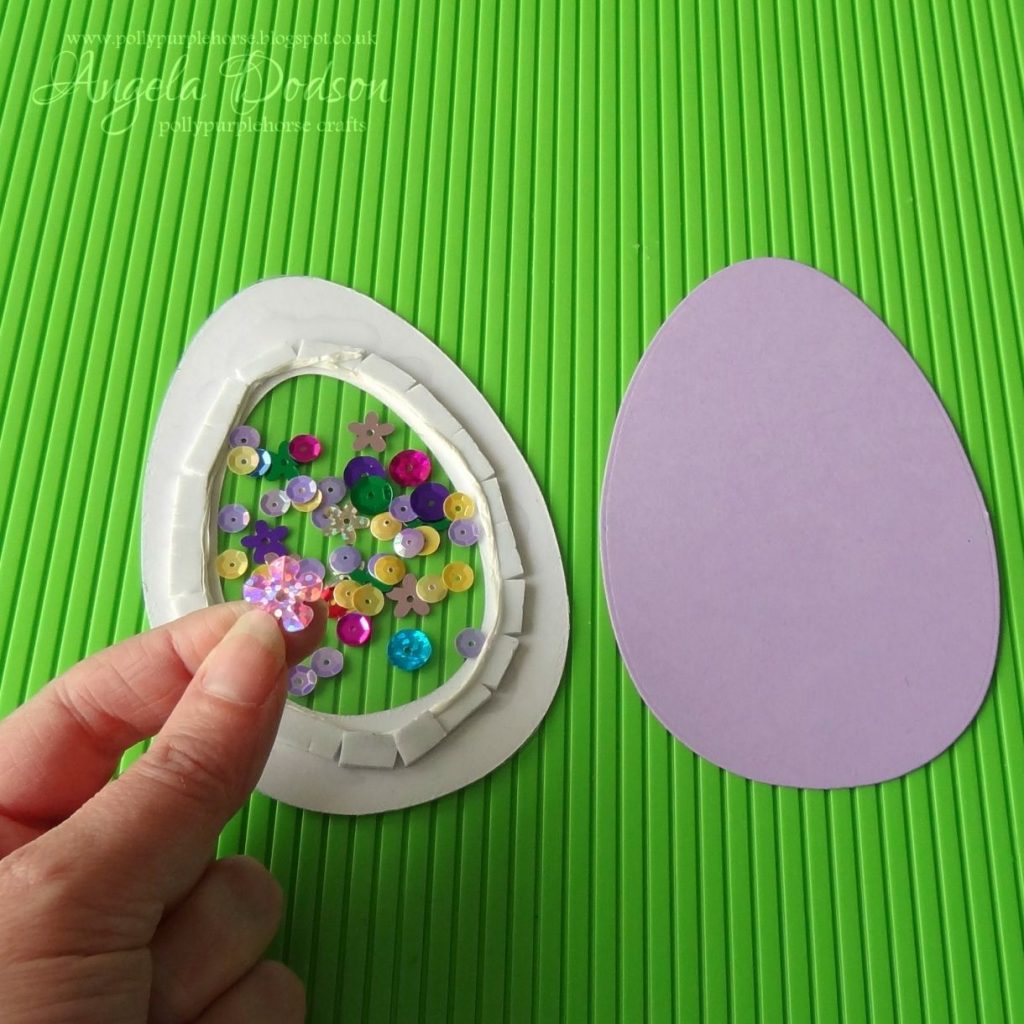
Add your sequins or beads as desired into centre of the aperture, then remove the backing tape from the 3D foam Tape.
Step 5
Carefully line up and press the New Lilac egg shape onto the 3D Foam Tape firmly, to enclose the sequins and create the shaker egg. Set aside for later.

Step 6
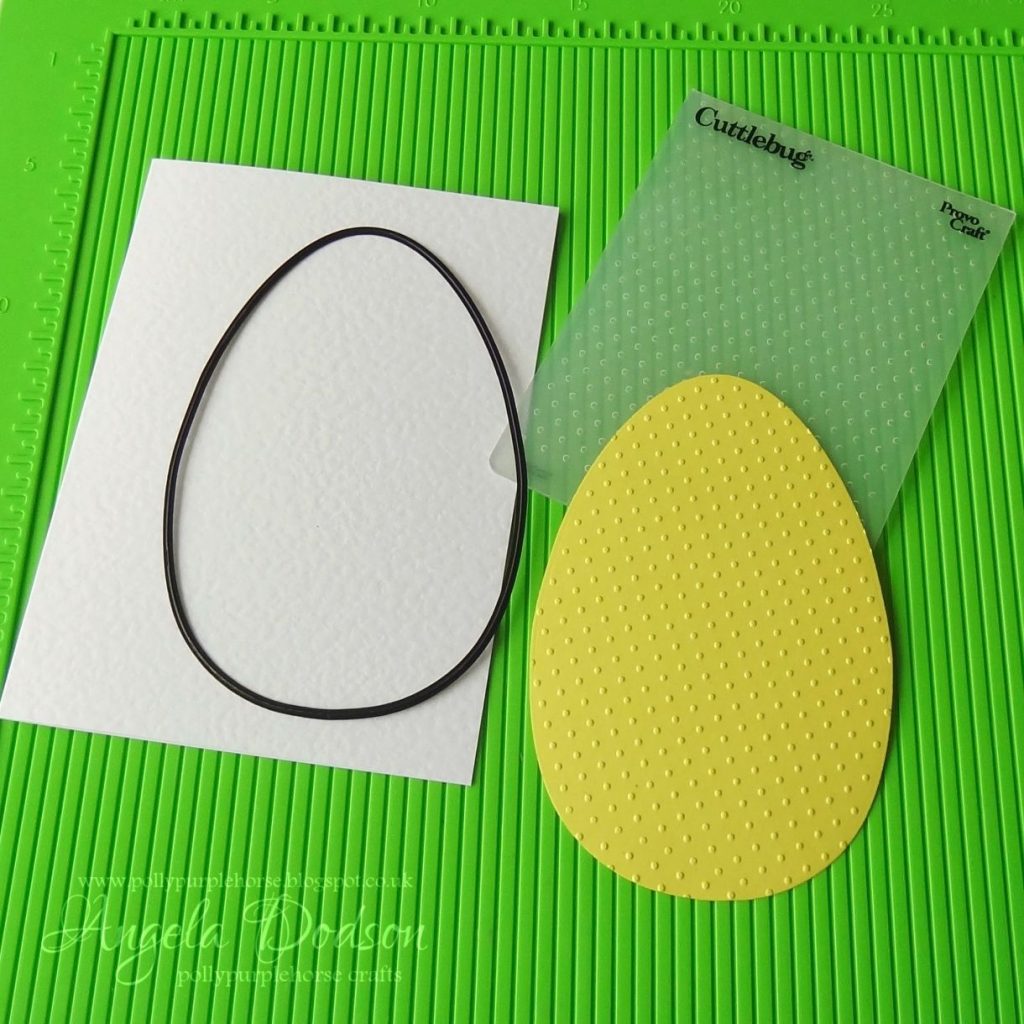
Using the Daffodil Yellow card and the largest of the nesting egg dies, cut an egg shape. Now pop it through your die-cutting machine /embosser using the Swiss Dots embossing folder, attach the shaker egg centrally to the yellow shape.
Step 7
Create a card base by scoring and folding a sheet of A4 White Hammered cardstock, trim down to 5” x7”.
Step 8
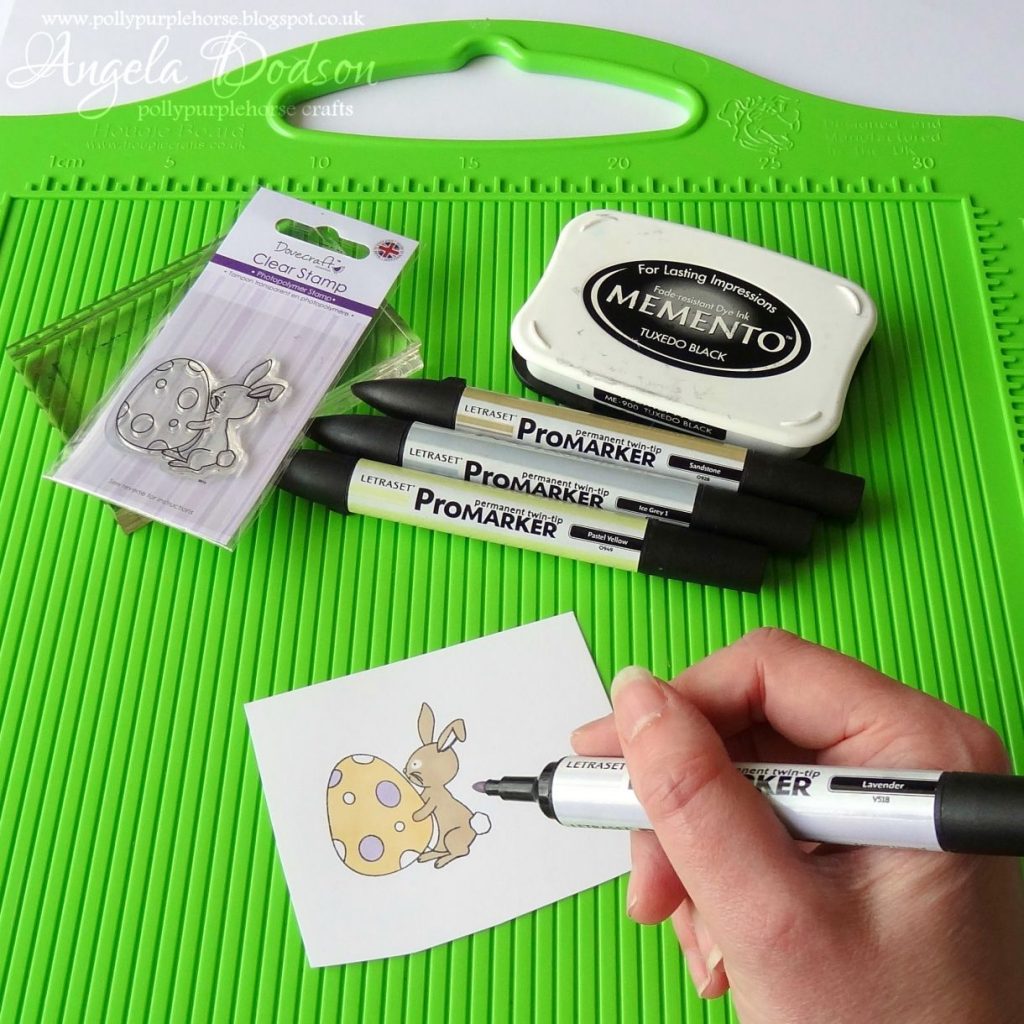
Stamp the bunny & egg stamp onto smooth white card using Tuxedo Black Memento Ink. When Dry colour with Promarkers, add extra detail with a white pen, and cut out. Add a little clear cosmic shimmer glue to the reverse and attach to the shaker egg at bottom right.
Step 9
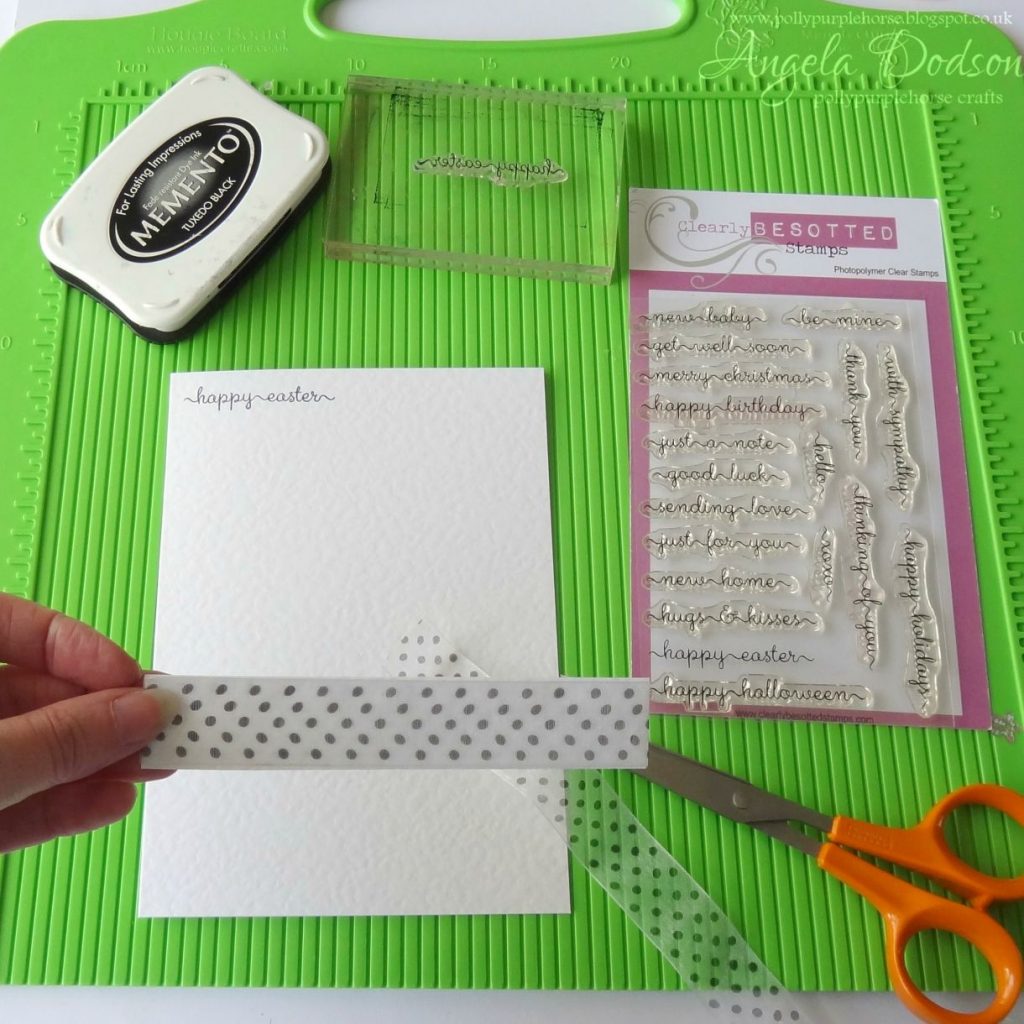
Next stamp the sentiment ‘happy easter’ directly onto the card front position it to the top left. (If you don’t feel confident stamping directly then you could stamp onto spare card, trim down and attach if preferred). Take a piece of white card approx. 5” long and cut into a strip the width of your chosen ribbon. Wrap ribbon across the strip and adhere the ends on the reverse. Use double-sided tape to stick the ribbon strip across the front of your card.
Step 10
Now attach the completed shaker egg to the card front using strong double-sided tape, pressing down gently to attach. To finish take a length of the black & white polka dot ribbon and thread through the ribbon strip on the right of the card front, tie into a bow and trim the ends.
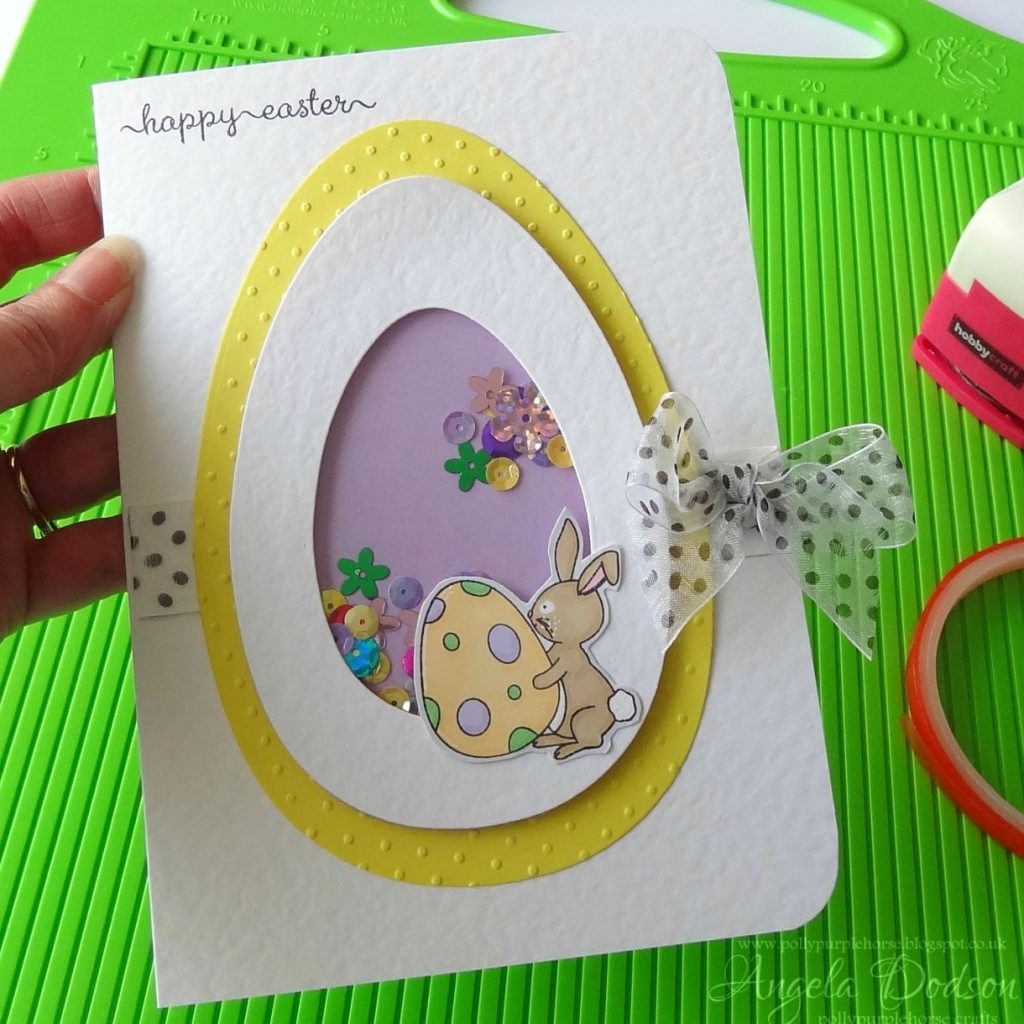
That’s your Easter Egg shaker card complete. Why not try making other shapes for your shakers, sequins now come in a wide variety of fun shapes for a different look, or try using beads, small buttons, or die-cut shapes to create your own versions.
0
Discussion